Everything but the butterflies and ribbon are underneath the glass panes. Most of the things I used wee retired product here too but who doesn't love the stamp All a Flutter and he was the right size for this frame!! I embossed the butterfly than added the color with my aquapainter. Happy Stamping!!
Thursday, March 31, 2011
Butterfly Frame
Everything but the butterflies and ribbon are underneath the glass panes. Most of the things I used wee retired product here too but who doesn't love the stamp All a Flutter and he was the right size for this frame!! I embossed the butterfly than added the color with my aquapainter. Happy Stamping!!
Labels:
3-D,
embossing,
gift,
scallop trim punch,
watercolor
Thursday, March 24, 2011
Throwback Thursday - Stipple Butterfly
Saturday, March 19, 2011
Buttons and more buttons
Wednesday, March 16, 2011
Happy St. Patrick's Day
I got this stamp set a secret sister gift and was glad to get it! It's from the mini catalog and it's called Lucky Shamrock but you can also get this as a digital download for 99 cents!! Which is a pretty good deal! I stamped the image using the rock and roll technique, spritzed it with shimmer paint and then ran a bit of crystal effects over it to give it some sheen. I used my marker to omit part of the stamp to put the shamrocks onto the wild wasabi cardstock. The DSP piece is the hostess DSP pack from the big catty. I embossed the white piece with the Vintage Wallpaper folder and then add a bit of ribbon to top it off! I hope you all have a great day and Happy Stamping!!
Sunday, March 13, 2011
Cute Cupcakes
When I saw the Create a Cupcake set I had to have it unfortunately I have had very little time to actually play with it. Here is one of the cards I made with it.
Thursday, March 10, 2011
Throwback Thursday - Cub Scout Blue & Gold Invite
February was our Blue & Gold Banquet and the boys wanted to make some invites. So I took out my retired Cowboy Kid and stamped them in Staz On for the kids to color. The one below was one of the one's I colored to give the principal and a few other people.
To color him in I used my watercolor crayons, they are perfect for watercoloring. I used my aqua painter directly on my crayon to give a more vibrant color.
The bottom picture is the inside of the card which I created using My Digital Studio. It was so easy to use and print off!! It sure made that part easy!

Happy Stamping!!
The bottom picture is the inside of the card which I created using My Digital Studio. It was so easy to use and print off!! It sure made that part easy!
Happy Stamping!!
Tuesday, March 8, 2011
Photo Clip
Sunday, March 6, 2011
Classic Butterfly
Tuesday, March 1, 2011
Technique Tuesday - Inlaid Embossing
As promised her is a tutorial in how to do inlaid embossing.
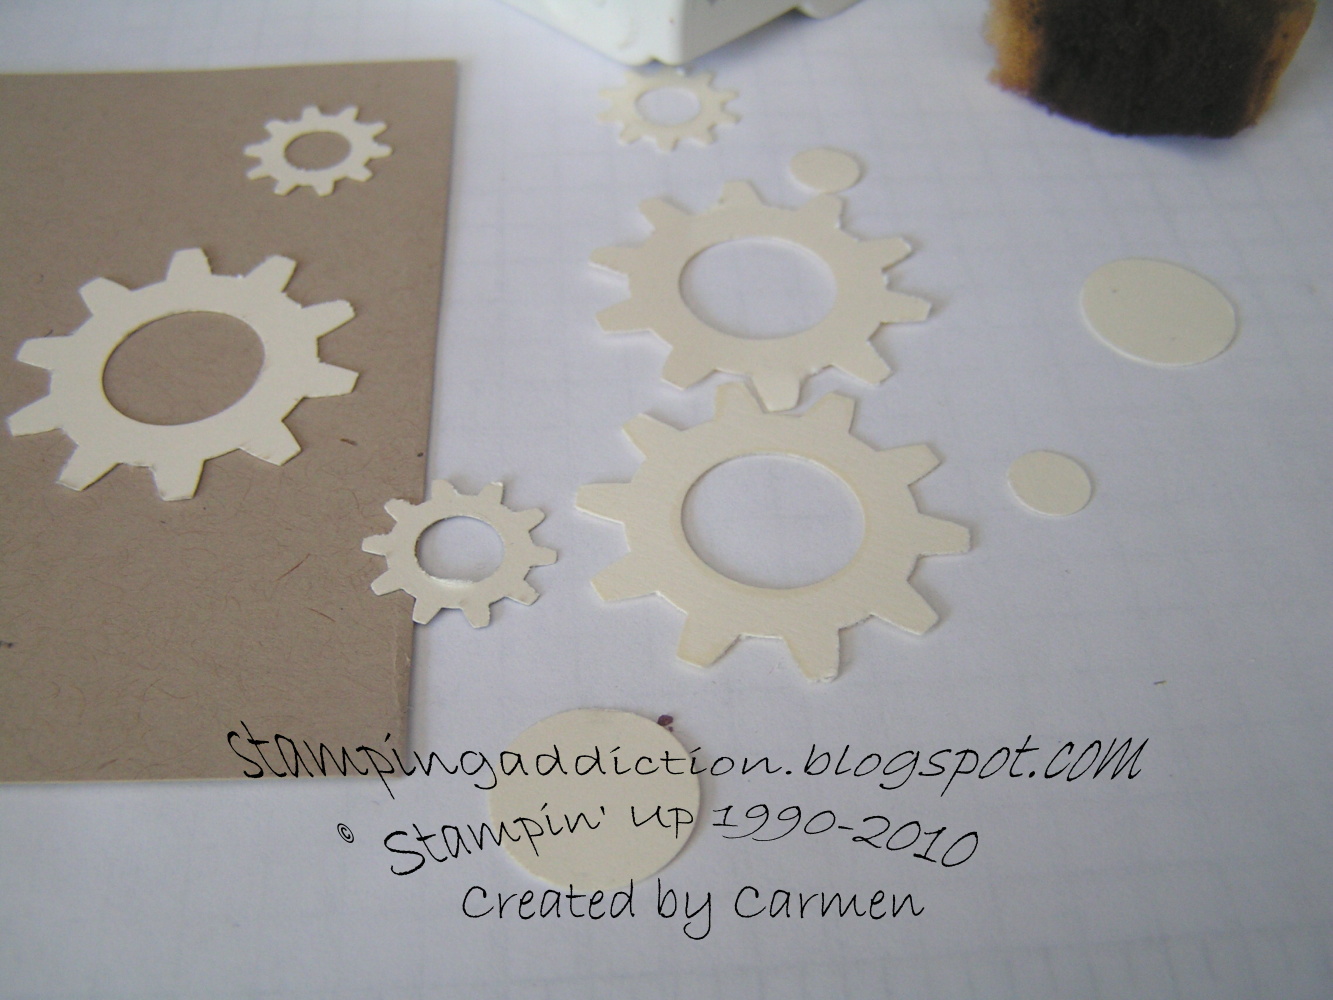
Start by punching out the pieces you want to inlay into the base of your card. To add a bit of color and depth I then sponged the punched out pieces, in this case the cogs from the Cogs Extra Large punch.
Then run tape on the backside of punched pieces.
Place punched pieces onto base cardstock where you want them positioned. Taping them down help them stay in place better.
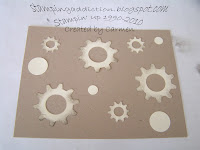
After all pieces are attached it will look like this.
Place into embossing folder. Have your piece facing up with the sizzix/Stampin Up logo on top. Rub through your big shot as usual.
After it is has been embossed it will look like this and you can embellish as you see fit.
Hope you found this tutorial useful and as you can see it's a very easy technique to do!! If you do use this tutorial if you get a chance come back and share your card here in the comments. I would love to see them!!! Happy Stamping!
Subscribe to:
Posts (Atom)