Showing posts with label christmas. Show all posts

Friday, October 4, 2013

Stampin' Addicts Blog Hop - Remembering Christmas


Welcome to Stampin' Addicts Winter blog hop!! There are sooo many wonderful Holiday ideas on this hop, I cannot wait to try some of them!!  If you are following the hop in order than you just came from Stitchin n Stampin on Paper where Kim made some wonderful projects using Joyful Christmas!  If not that's okay as there are links at the bottom to keep you going.

Today all my projects use Remembering Christmas as the focal point stamp set.  I just love this set!!  It can be very versatile!  This first project is rather straight forward the only technique was I stamped the main image for a different project and was left with ink on my stamp with a pattern etched in the ink so I stamped the image to get the effect below on the stamped image.   Just got to say that Washi Tape is awesome ... perfect embellishment!!


This next project I LOVE!!  I did not use it for the expected Holiday card but instead for a masculine Thank You card.  It actually match the idea in my head perfectly!!  I think I may even try another one in pink or as a hunting card with red.  Ya I know a little morbid but out here in Arizona hunting is like second nature.  The Thanks comes from Harvest of Thanks and the splotches are from Gorgeous Grunge.


This next card has a whole lot of sparkle to it and who doesn't like some sparkle!!  The only thing is in person you can see all the glitter on the Buck.


Lastly is this super cute canvas art project!!  This would be a great gift item!!  I stamped the Buck onto a piece of canvas and then added a splash of paper and accessories to amp it up a bit before layering it onto a canvas frame.  The saying comes from the stamp set Really Good Greetings.


Thanks for joining our hop!  I hope you enjoyed the projects I shared with you today!  The next stop on the hop is Rubber Stamping and Card Making with Yapha who is showcasing the beautiful Winter Frost Specialty DSP.  Happy Stamping!!


Thursday, December 29, 2011

One last Christmas Project

I was getting some blog post ready for the next few days and realized I never shared this box I made with the stocking die. I made two sides to this box and then placed them on both sides of the #2 box. I decorated it all up with the stocking die accents. Making this with all big shot dies made this a super fast and easy project to give as gifts! Happy Stamping!!

Sunday, December 25, 2011

Merry Christmas!!

I hope that each of you have gotten to spend time with your Family and Friends during this holiday season! Here is my last Christmas project I have to share ....


It's a cute little gift card holder I made using the stocking die. To keep the gift card staying close to the cuff when I tape the two stocking together I ran a length of tape across the middle so the gift card would not slide down into the card. Happy Stamping!!

Thursday, December 22, 2011

Stocking Die Card

I needed a few real quick Christmas cards and I had these stockings already cut out and begging to be used.I just scored along the left edge of the back stocking and the taped them together. I added all the embellishments to give them some dimension. And then I sponged it with versamark and glitter to give a bit of sparkle! I thought they looked great and so did they gals who got them for Christmas cards!! Happy Stamping!

Tuesday, December 20, 2011

Decor Stencils

Sorry I wasn't around for the last few weeks. I had some personal things that came up and kept me away from blogging and a few other things good thing I had a few posts scheduled before hand. In my absence I my blog hit 100,000 page views! How exciting was is that!! Right after the holidays I will post a little blog candy so be sure to check back!

This was a simple card I made for a Non Secret Sister exchange I am doing with my SU Friends group using our Vintage Ornaments decor stencil. I sponged the ornament in real red and then used some stencil paste on the swirl. Before the paste dried I sprinkled on some of the aqua colored glitter from our glitter stacks. I used the vintage wallpaper EF on the pacific point cardstock to give it a bit more texture and then layered it all together! Happy Stamping!!

Monday, December 12, 2011

Tree Trimmings

Here's a card I made using the tree trimmings set. I seem to like to use blue colors on my Christmas cards!! This one uses Not Quite Navy and Baja Breeze. I also used the tasteful trim die as well as the Snow Burst embossing folder. It was a fairly simple layout but a beautiful card!! Happy Stamping!!

Saturday, December 10, 2011

Christmas Flower

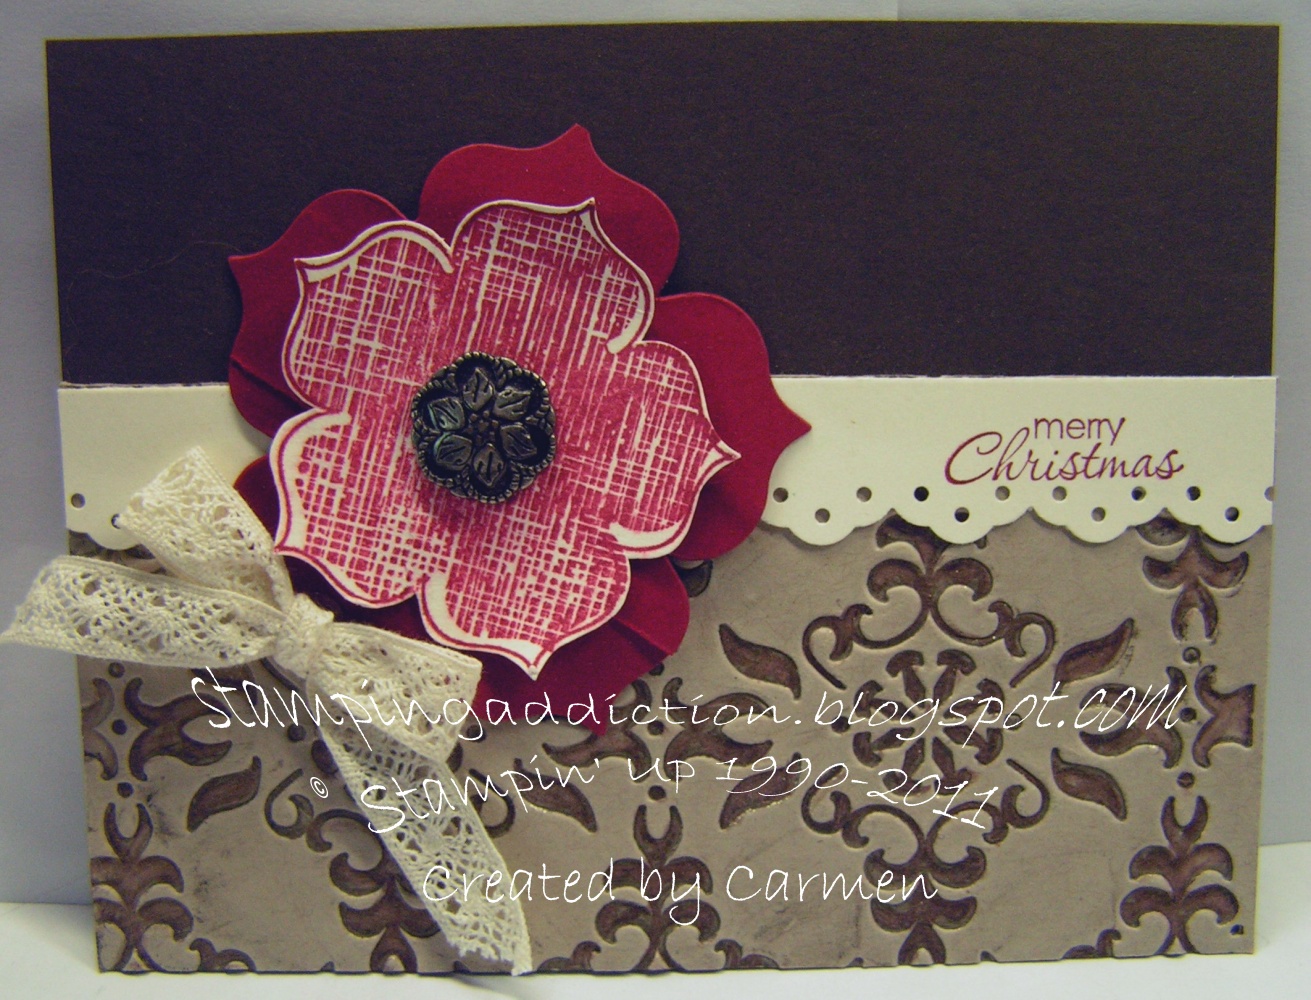
This was I believe another card I made for a swap for the Stampin' Addicts get together at convention, (I still have several to share after the holidays ... I'm a bit behind). I used my vintage wallpaper embossing folder and inked it up with early espresso ink before I ran it through the big shot to get the double colors, then I water colored some shimmer paint into the debossed parts to give a bit of shimmer to it. The stamped flower is from Raining Flowers and the cut out flower is cut from the fun flowers die. Happy Stamping!!

Thursday, December 8, 2011

Merry and Type Take 3

Here's my last card using the Merry & Type set. I really like this one too! Here I paired Cherry Cobbler and Basic Black together again not a set of colors you would using use for Christmas but they look great! A simple card but how a classy look too it! Happy Stamping!!
Tuesday, December 6, 2011

Merry and Type Take 2

Here's the next card I made using Merry & Type and this one I love too! Using these non-traditional colors together really give it a rich feel to the card, Island Indigo, Pool Party and Early Espresso. Happy Stamping!!

Sunday, December 4, 2011

Merry and Type Take 1

I have several versions of cards made with the Merry & Type stamp set I will be sharing the next few days. This card I made as a couple of Thank You's for some trades I did with a couple of fellow demos. I think I was into this color combo as the card I shared the other day was similar. I'm not sure how well the photo to the right shows this but I dry embossed the image shape (from the back) to give the ornaments a bit of dimension to them. They have this cool 3-d effect to them. I also add some shimmer paint to them to give them a little extra shine. In person it just looks sooo much cooler. Happy Stamping!!

Friday, December 2, 2011

Stitched Stockings

I made this card I think for a swap. I used the peekaboo die, stocking builder punch and Stitched Stocking to make this card; oh and also the snow burst embossing folder!! All of these items can be found in the holiday mini catalog. I like how simple but cool this card is AND it's great card for a guy too! Happy Stamping!

Wednesday, November 30, 2011

Christmas Clean and Simple

I've shown a lot of 3-d things so thought I would share a few cards. This card was a swap I made waaaay back during convention and is a CAS card ( clean and simple). This card use the set Easy Events. The little red scallop peeking out along the edge is the dotted scallop ribbon border punch. I colored the holly in with my markers then added some iridescent ice to the red berries to give a little bit of sparkle! Happy Stamping!!

Monday, November 28, 2011

Giftable Class Project #6


This was the last project we created. The group of gals I stamp with have been wanting to learn how to make the box in the bag created by Diana Gibbs. So I came up this mini one for them to make. The were surprised in how easy and cute this is to make!! Which makes it perfect to make a bunch of them to hand out to friends or coworkers. We used the tree trimmings stamp set and boy does the glimmer paper really sparkles on this bag!! Happy Stamping!!

Tuesday, November 22, 2011

Giftable Class Project #3

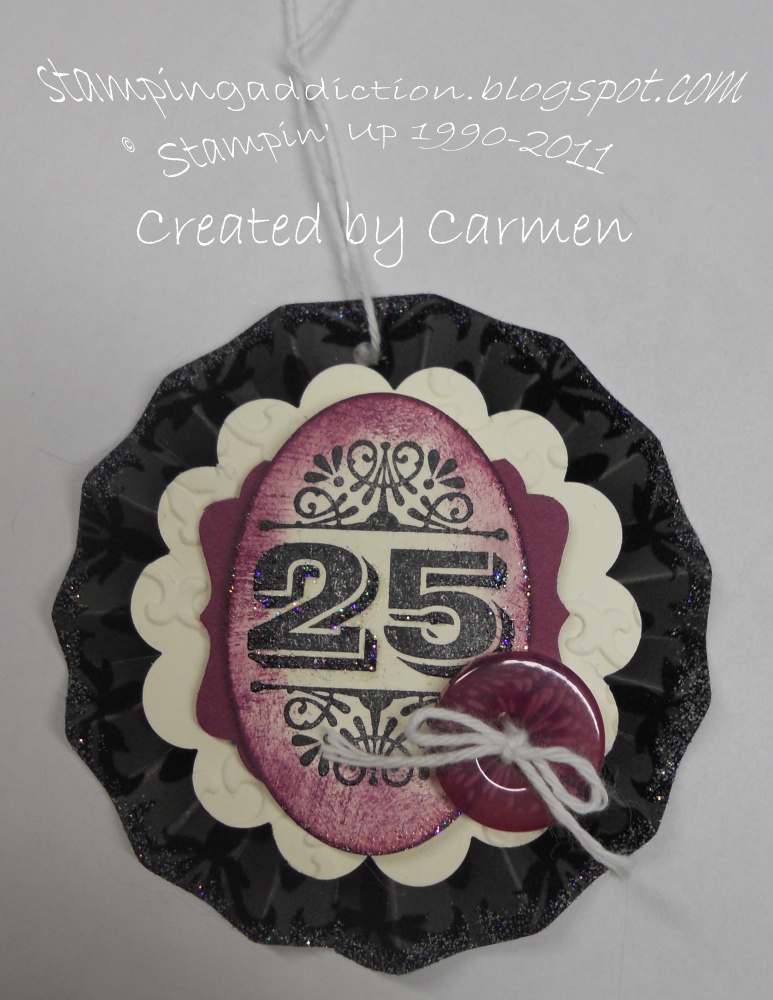
I didn't capture the best picture for this project but it is a rosette ornament. The black paper is actually the flocked grey and black piece from Mocha Morning DSP. It really gives them an elegant look to the ornament! We then layered it with a piece of whisper white cardstock I ran through my vintage wallpaper embossing folders. The image is from Merry & Type which I punched out with an oval punch and layered with a cardstock cut with the decorative label punch. We also added touches of glitter to the edges to really make it sparkle! Happy Stamping!

Sunday, November 20, 2011

Giftable Class Project #2

This next project was rally simple to make but it's really cute. We used the small set of Merry Trees decor elements to decorate the mugs. You get 4 little trees and the word Merry that I'll be using on another project.

Once we had the mugs all done we added a few little goodies; cocoa, peppermint tea and some candy canes. These would be perfect to make for neighbors, friends or coworkers and they are pretty quick to put together! Happy Stamping!

Friday, November 18, 2011

Giftable Class Project #1

I had my annual giftables class this weekend and we had a ton of fun!! This was my favorite project we created for this event!! I got the idea for this from a Halloween version that I got from my big sis this round, I don't who she is yet but can't wait to find out out!! She did say she cased it from someone else and I think she said Wendy from Wickedly Wonderful Creations. We used paper from the brights DSP pack as well as mocha morning DSP. The trees are the same trees from this project. Happy Stamping!!

ETA: I had a few questions about the frame. It's your standard frame at 8 1/2x11 Frame. This one had a premade inner frame so the actual picture part is 5x7. The original frame sent to me used up the 8 1/2x11 space and it looked great either way! Just make your squares to use more space. The letter I used were from Timeless Type Junior Alphabet dies but if you make larger squares I would use the Serif Essentials Alphabet. I hope that helps!!

Friday, October 14, 2011

Stampin' Addicts Big Shot Blog Hop - Candy Wrapper Die

Welcome to Stampin' Addicts Big Shot blog hop where we are featuring some of the different big shot dies as well as a few accessories. I know I use my big shot on just about every project I make!! It's my most loved and well used "toy"!
If you are following the hop in order then you just came from Betty's site Kitty Stamp where she featured some great projects using the blossom box die. She sure has inspired me to get my die out and actually use it!!

On my stop I am showcasing the Candy Wrapper die and each of my projects show you ways to use your die in nontraditional ways. I love coming up with ways to use my dies in an alternate fashion.

Below is my first project and it is perfect for this time of the year, I know Fall is in full swing here (and a bit of winter) and is my favorite time of the year!


I made this using the Gently Falling stamp set as well as the perfect pennants die. Doesn't look like candy wrapper die does it. I used two partial candy wrapper pieces to make this darling little box similar to how I altered the Milk Carton die. To give the leaves the dimension of color I first stamp the main image and then used my water color crayons and markers to add additional color and I also watercolor some shimmer paint to them to add a bit of sparkle.

This next project is perfect for Halloween treats! Who doesn't love Halloween AND Treats?!!?

For this one I did the same technique to elongate my die as I did when I extended my matchbox die. I used the set Wicked Cool and made the little lolly which you can pull off and save after all the treats are gone and hang on a little Halloween tree.

Lastly I came up with this fun sparkly Christmas basket.


Besides the Candy Wrapper die I also used the Stocking Accents die to decorate the basket. I used two entire pieces to create the base of the basket, I flipped the bottom ends to make the basket base and flipped top ends over the sides to give my basket some fun depth. I also slide some out that wonderful glitter paper underneath the flaps to really make it sparkle!!

I hope you like my projects and have found a few new ways to use your Candy Wrapper die. Now hop on over to Sara's site Lily's Ink Pad and fun projects using the Milk Carton die!! Happy Stamping!

. . .
Related Posts with Thumbnails