Showing posts with label shimmer paint. Show all posts

Monday, May 28, 2012

Tool Time


Totally Tool was a must have set for me and I used it all the time so for me this is another set I am sad to see retired!  This card is rather simple as well and can be used for Father's Day, Birthday or a Think of You card.  I stamped the saw image twice.  I colored the first one in using my water color crayons and then used my aqua painter to add the silver shimmer paint to give it a metallic look.  I cut out the handle on the second image to lay over the first to give it some depth and added several mini silver brads.  I placed the main image over a large oval cut from the ovals die.   Then I got some silver metallic paper and ran it through my big shot with the Houndstooth EF.  I round the edges with my circle punch to create tabs to add more mini brads to tie it all in.  Happy Stamping!!

Friday, May 4, 2012

One Layer Delight


One layer cards are always the hardest cards for me to make not really sure why but I think it's because I always have to add one more thing but that would defeat the purpose of one layer!!  On this one I used the set Field Flowers and part of a stamp from On Your Birthday. I add a small bow made from Baker's Twine.  Lastly I scored a double line around the edges.  Oh and I added some shimmer paint to the flowers.  Happy Stamping!!

Thursday, April 12, 2012

Butterfly Post It Keychain

This post is going to be a quick one!! This was a keychain I made out of the Beautiful Butterflies die. I cut out several layers of post its to sandwich between my butterfly. Used the handy cropadile to create a hole to run my key chain piece through and you have a great hostess gift!! Happy Stamping!!

Thursday, March 8, 2012

Creative Crew - March Holiday Focus

My fourth project I am sharing is the Holiday Focus one and is my Favorite project I've made for all the challenges so far!!

Here's the info if you would like to join us - CCREW0312HF, CreativeCrew, SUO or SUM -- Holiday focus: Let's celebrate national crafting month! Pull that idea you've been "wanting to do" out and create it. You can use any theme, maybe you have an Easter project, maybe you have a decor or centerpiece idea, maybe you've been wanting to do something with fabric? Any theme is okay, but show us your artistic, creative, involved crafty side. Use the first attached photo to inspire your creativity.


Isn't it pretty!?!?! I've had these jars for well a while (we won't say just how long) and have been looking for a way to alter them so I came up with this cute decorative jar. It went straight to my spring time vignette and I think I'll make a few paper flowers to sit in as well. I did a couple of different flowers; the yellow one is used the eyelet border punch and wrapping it into circles then spritzing with shimmer paint. The green one I did with scallop punches and the blue one I did with ribbon. All different looks but they work perfectly together!! I also used a bit of ribbon and if you look closely you will see some white waffle paper. Love it and hope you do too!! Happy Stamping!!

Tuesday, February 28, 2012

Decorating Metal Tins

I must confess I bought about a hundred of these thin metal tins and have been hoarding them for who knows what! But I did manage to decorate on for a little gift. I used the retired set Just Buzzin' By ... one of my favorite sets. (I know I know I say that all the time!!) I water colored the hive and bee with the water color crayons and then used my aqua painter to add a bit of shimmer paint to the hive. I used some of that dreaded paper paisley petals but it works well here!! I used lots of different embellishments to pull the whole thing together. Happy Stamping!!

Saturday, February 18, 2012

Making It Simple

I have a wide range of cards I make from one layer to over the top and lately I've been stuck in the over the top mode but thought I would show one of the simpler cards I made. Just because it's simple doesn't make it any less pretty!! Here I used the set Zoo review and since I hadn't used the Giraffe image I used that one here. I stamped it by inking it with a mixing it with cajun craze and gold shimmer paint which gives it a really elegant look. I spritzed the base card stock with Log Cabin smooch spritz to give the base a bit of shimmer too. Then added some coordinating cardstock and dsp with a couple of brads and that's it!! It's got this great subtle shimmering effect that really looks great in person! Happy Stamping!!

Monday, January 30, 2012

Friendship

I always say here's a card that isn't normally my style and I find myself that that more and more. I don't think I really have a specific style anymore I just like to create!! On the base I used the Manhattan Flower embossing folder and then sprayed it with some shimmer spray. I used the set Four Frames for the main image. I watercolored the roses and then added the friend saying to the center of the frame. Then I added different cardstock colors to tie it all in together and some Cherry Cobbler seam binding! And it needed a little more bling so I added a few rhinestones. Happy Stamping!!

Sunday, December 4, 2011

Merry and Type Take 1

I have several versions of cards made with the Merry & Type stamp set I will be sharing the next few days. This card I made as a couple of Thank You's for some trades I did with a couple of fellow demos. I think I was into this color combo as the card I shared the other day was similar. I'm not sure how well the photo to the right shows this but I dry embossed the image shape (from the back) to give the ornaments a bit of dimension to them. They have this cool 3-d effect to them. I also add some shimmer paint to them to give them a little extra shine. In person it just looks sooo much cooler. Happy Stamping!!

Friday, November 4, 2011

Gently Falling

This was another swap card I made ... I've been swapping a lot more than I usually do! This one uses Gently Falling as well as the last card I shared. This one I lightened the tone up a bit by using Garden Green and Cajun Craze. It's kind of hard to see but if you look closely to the picture on the left you can see the Cajun Leave is puffed up a bit. To do this I ran my stylus along the leaf image from the back side and then used dimensional underneath to keep it pouf. I also watercolored the leaves with my water color crayons and more shimmer paint! I sure do love that stuff! Happy Stamping!

Wednesday, November 2, 2011

Holiday Wraps

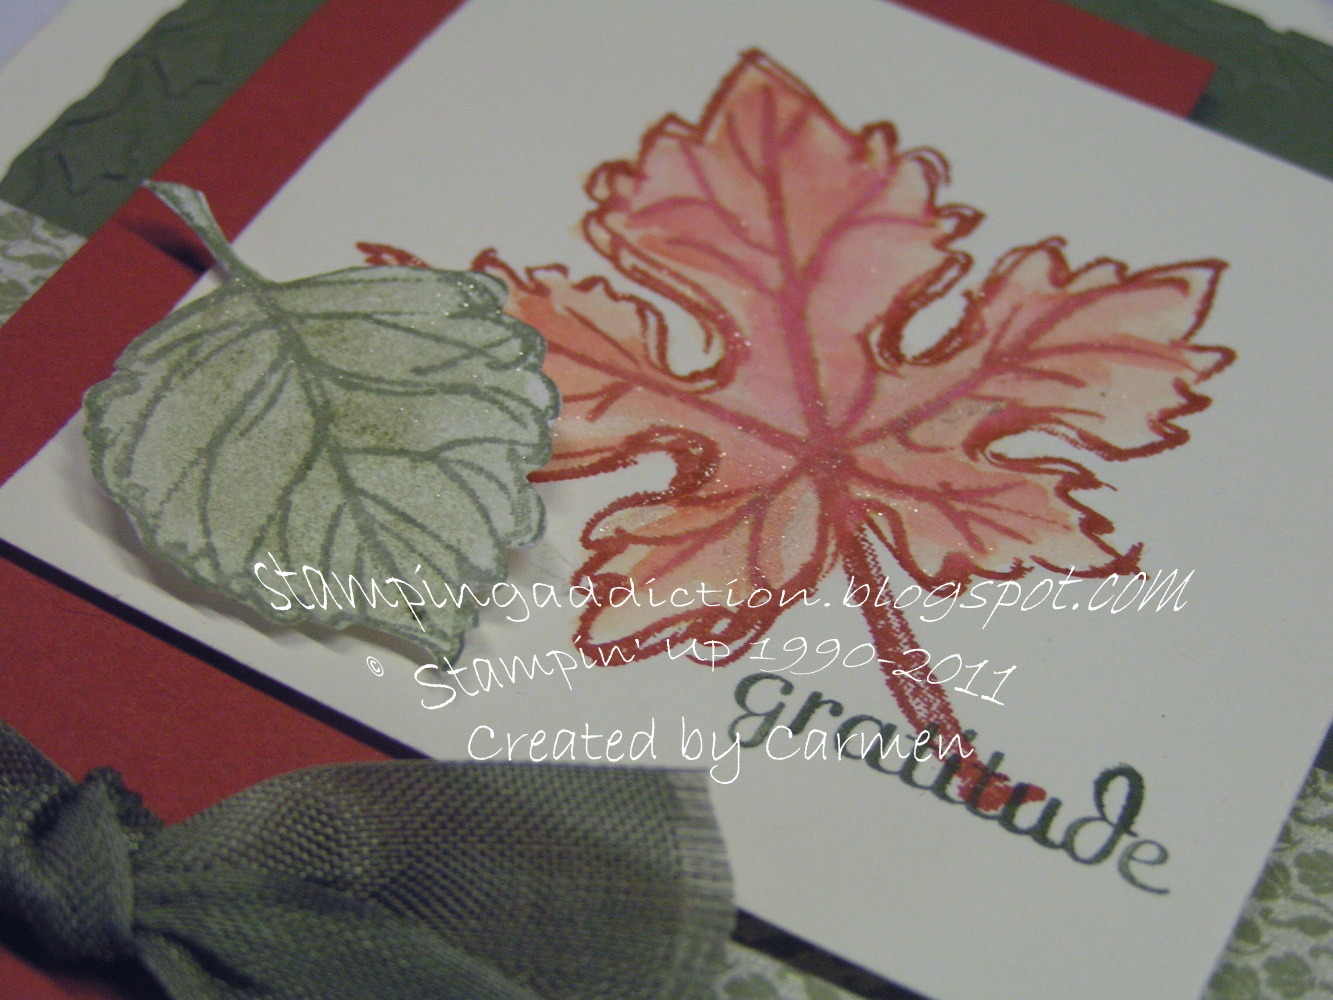
Here is a swap card I made using the sets It's a Wrap Holidays and Gently Falling. I really like the combination of these two sets together. I like to use darker richer tones when making most of my falls cards and this one is definitely along those lines. I stamp the give thanks three times and then made some leaves to accent over two of them. I stamped the leaves and then used my water colors crayons to add more color and then of course watercolored some shimmer paint over to give them some sheen. Happy Stamping!

Friday, October 14, 2011

Stampin' Addicts Big Shot Blog Hop - Candy Wrapper Die

Welcome to Stampin' Addicts Big Shot blog hop where we are featuring some of the different big shot dies as well as a few accessories. I know I use my big shot on just about every project I make!! It's my most loved and well used "toy"!

If you are following the hop in order then you just came from Betty's site Kitty Stamp where she featured some great projects using the blossom box die. She sure has inspired me to get my die out and actually use it!!

On my stop I am showcasing the Candy Wrapper die and each of my projects show you ways to use your die in nontraditional ways. I love coming up with ways to use my dies in an alternate fashion.

Below is my first project and it is perfect for this time of the year, I know Fall is in full swing here (and a bit of winter) and is my favorite time of the year!


I made this using the Gently Falling stamp set as well as the perfect pennants die. Doesn't look like candy wrapper die does it. I used two partial candy wrapper pieces to make this darling little box similar to how I altered the Milk Carton die. To give the leaves the dimension of color I first stamp the main image and then used my water color crayons and markers to add additional color and I also watercolor some shimmer paint to them to add a bit of sparkle.

This next project is perfect for Halloween treats! Who doesn't love Halloween AND Treats?!!?

For this one I did the same technique to elongate my die as I did when I extended my matchbox die. I used the set Wicked Cool and made the little lolly which you can pull off and save after all the treats are gone and hang on a little Halloween tree.

Lastly I came up with this fun sparkly Christmas basket.


Besides the Candy Wrapper die I also used the Stocking Accents die to decorate the basket. I used two entire pieces to create the base of the basket, I flipped the bottom ends to make the basket base and flipped top ends over the sides to give my basket some fun depth. I also slide some out that wonderful glitter paper underneath the flaps to really make it sparkle!!

I hope you like my projects and have found a few new ways to use your Candy Wrapper die. Now hop on over to Sara's site Lily's Ink Pad and fun projects using the Milk Carton die!! Happy Stamping!

. . .

Sunday, October 9, 2011

Caseing Myself

Very rarely do I case and when I do it never ever looks like the original. I always end up changing it completely but this time I cased myself and I kept it almost the same. You can see my original design here. I used the stamp set Flores Suaves (from the spanish catalog) instead. I needed a card to enter for Hispanic Night for convention so this was the one I submitted. As you can tell I have quite of few things still left to share from the past 4 months or so. Happy Stamping!!

Monday, August 1, 2011

Zoo Review - Lion Card

Just wanted to share a few things about my lion card. To get the main image with all the depth of color I used my markers for the main image. I used More Mustard, Basic Black, Sahara Sand and Dusty Durango. After that I used the same colors to water color the rest of the color to the lion.I also added a touch of the gold shimmer paint to the lion's main. I used the marker for that as well, I just ran the brush tip on the inside of the marker lid and then used my aquapainter; it seems to give a more vibrant color. I used the new Designer Frames the make the picture frame around the lion. I used chocolate chip cardstock and then colored the popped up part with my Early Espresso Marker to make it look like a weathered frame. I also used the square lattice embossing folder as well as the new striped one. Lastly a little bit of baker's twine and a couple of buttons and it's done! I think it looks like a picture frame hanging on a wall. Happy Stamping!

Friday, July 29, 2011

Stampin' Addicts New Catalog Hop - Zoo Review

Welcome to Stampin' Addicts New Catalog Blog hop! Now that you have had a little bit of time to look at our new catty and pick all your favorites we thought it would be a good idea to share with you some of ours!!

If you are following the hop in order you just came from Tinkerin In Ink with Tanya! Didn't she make the cutest things with Dinoraor! But don't worry if you are starting here the links at the bottom will get you going!

One of the first sets I had to have from this catalog was Zoo Review ... love this set!! It'll be perfect for scrapping my zoo pics as they are a bit more realistic than I have seen lately. But today I won't be showing any scrapbook pages but instead a few cards and a cute little box. I found it kinda funny that a lot of people didn't really like this set so hopefully these will change their minds!

My first card is this masculine card ... that Lion is rather intimidating dontcha think? This card has a lot of textures to it which makes pretty cool!


This was actually the first card I put together. The lucky limeade sure adds a bit of pop to this card as well as the bit of fabric!

This one is my favorite and in person boy does this sparkle and the layers are just perfect!

Last but not least is this little box ... can you guess what die it's made out of? The milk carton! How cool it that!?! I made a box similar to this for a treat swap at convention and if you come back to my blog I put together s little tutorial on how to make it! Just sign up for email subscription and you'll know when it gets posted (it's on the right hand side or on my banner)! Don't forget to become a follower too!

Now that you've added this set to your must have lists are you ready to see what Kim made over at Stitchin in Stampin on Paper. She used the Raining Flowers Stamp set we got at convention and her projects are too cute! I have a bunch of samples to show that I made for the convention display boards using that set, as well as a few others, and I'll be sharing those later next month. I had a lot more fun with that set than I thought I would!! Happy Stamping!

.
Related Posts with Thumbnails