You all ready for the tutorial! You'll be surprised how easy it is! Just a few more pictures of the actual box though first.


I used the Lace Ribbon Border punch to make the black border. When I colored the penguin I watercolored it with my markers; to do this just rub the brush tip along the inside edge of the lid and pick up the color with your aquapainter. On the water on the bottom I used the Frost White shimmer paint to add some more texture. On the top of the box I added a button and then a rhinestone brad without the brad part and then I needed a bit more so I added the ribbon with the button. So now the tutorial, click on any picture to make it larger.

First you get the milk carton die and I always trim my paper to fit what I am doing ... just creates less waste. So if you look closely you can see I lined up the corner just below the part that makes the flaps and one section in from the side that does not have the mini tab. Then run it through the big shot. Do this twice.

Next to make the top. For the top I did the same thing but lined it up on the top where the flaps are. You also line this up one section in on the side that does not have the mini tab. If you want the lid to be wider you just leave more space on the bottom below the fold but not too long that it goes to the base. Run it through the big shop two times.

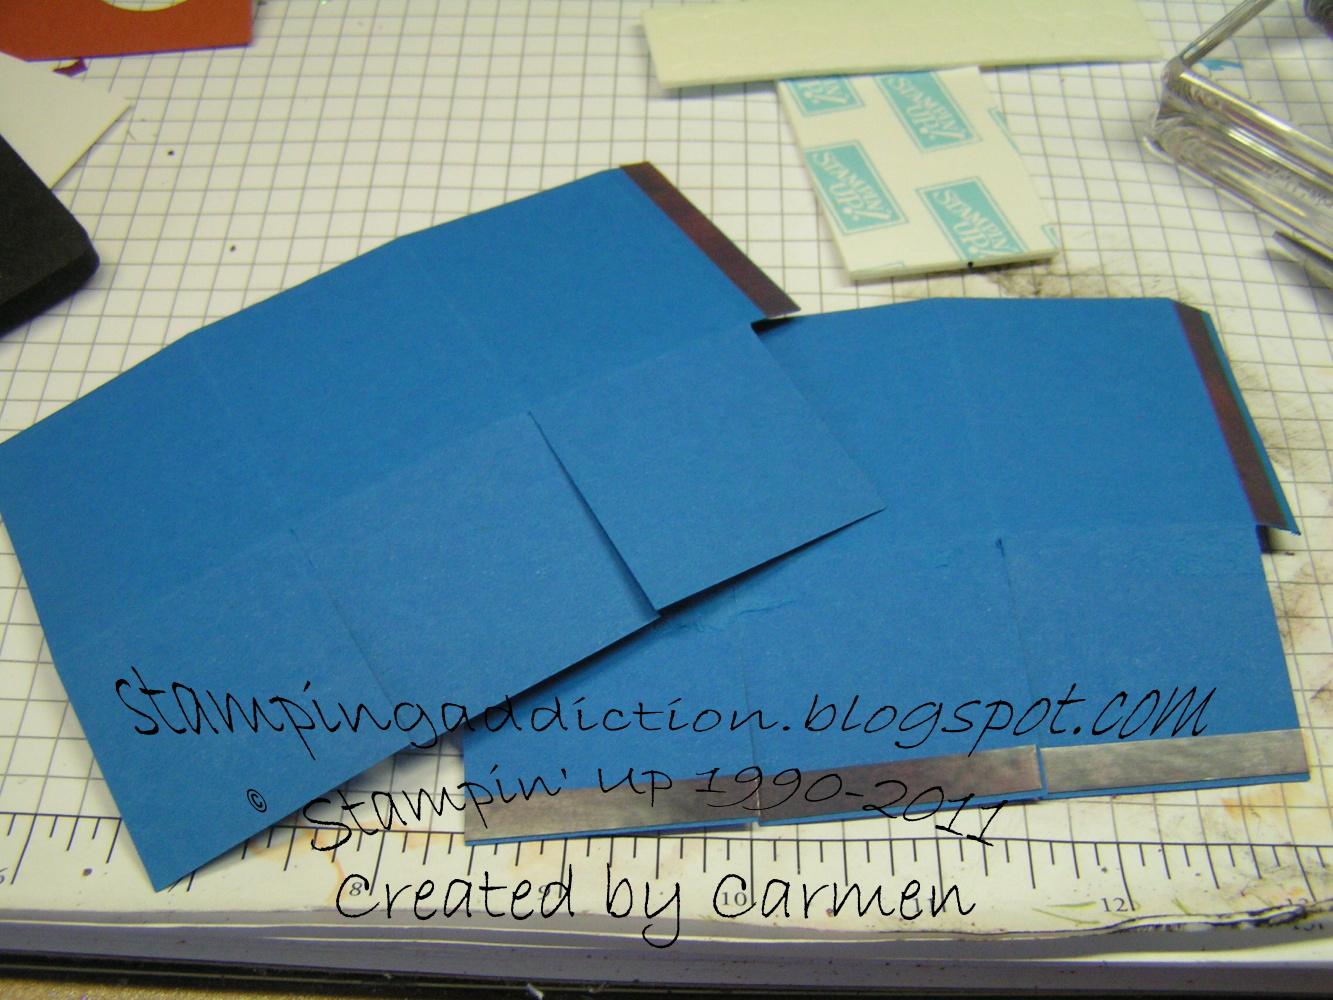
Both sets cut out.

To create the bottom of the box. Run sticky strip on both side tabs and crease both your folds.
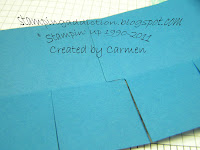
Attach the flap to the inside of the second piece.

Attached the second mini flap to the other end to create your bottom of the hexagon box.

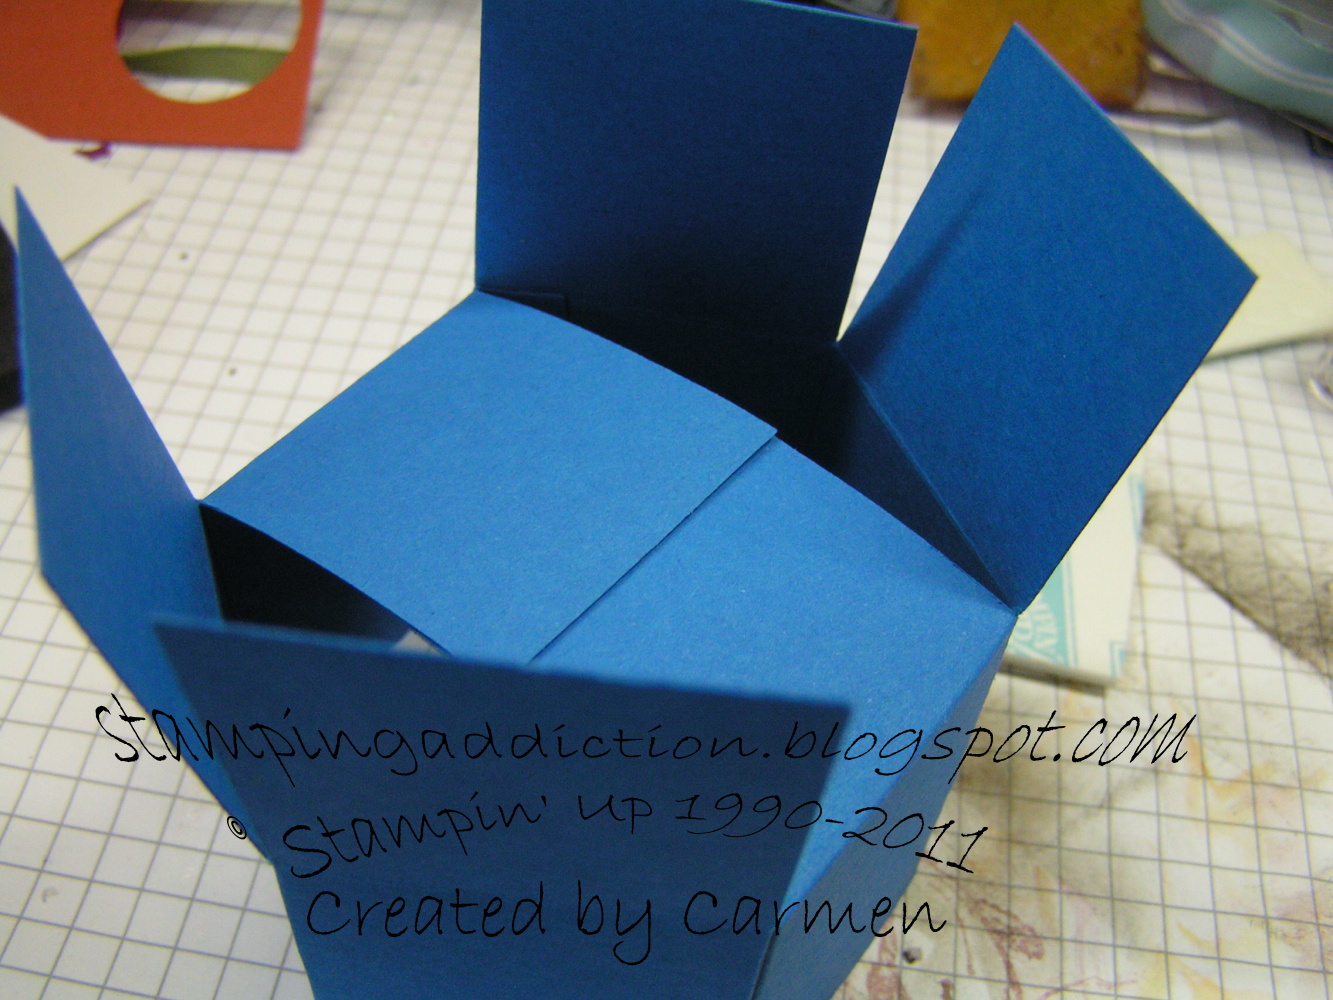
Flip it over and using sticky strip or the mono adhesive the attach two opposite side flaps to each other.

Do the same for the next set of flaps.

And then for the last set of flaps.

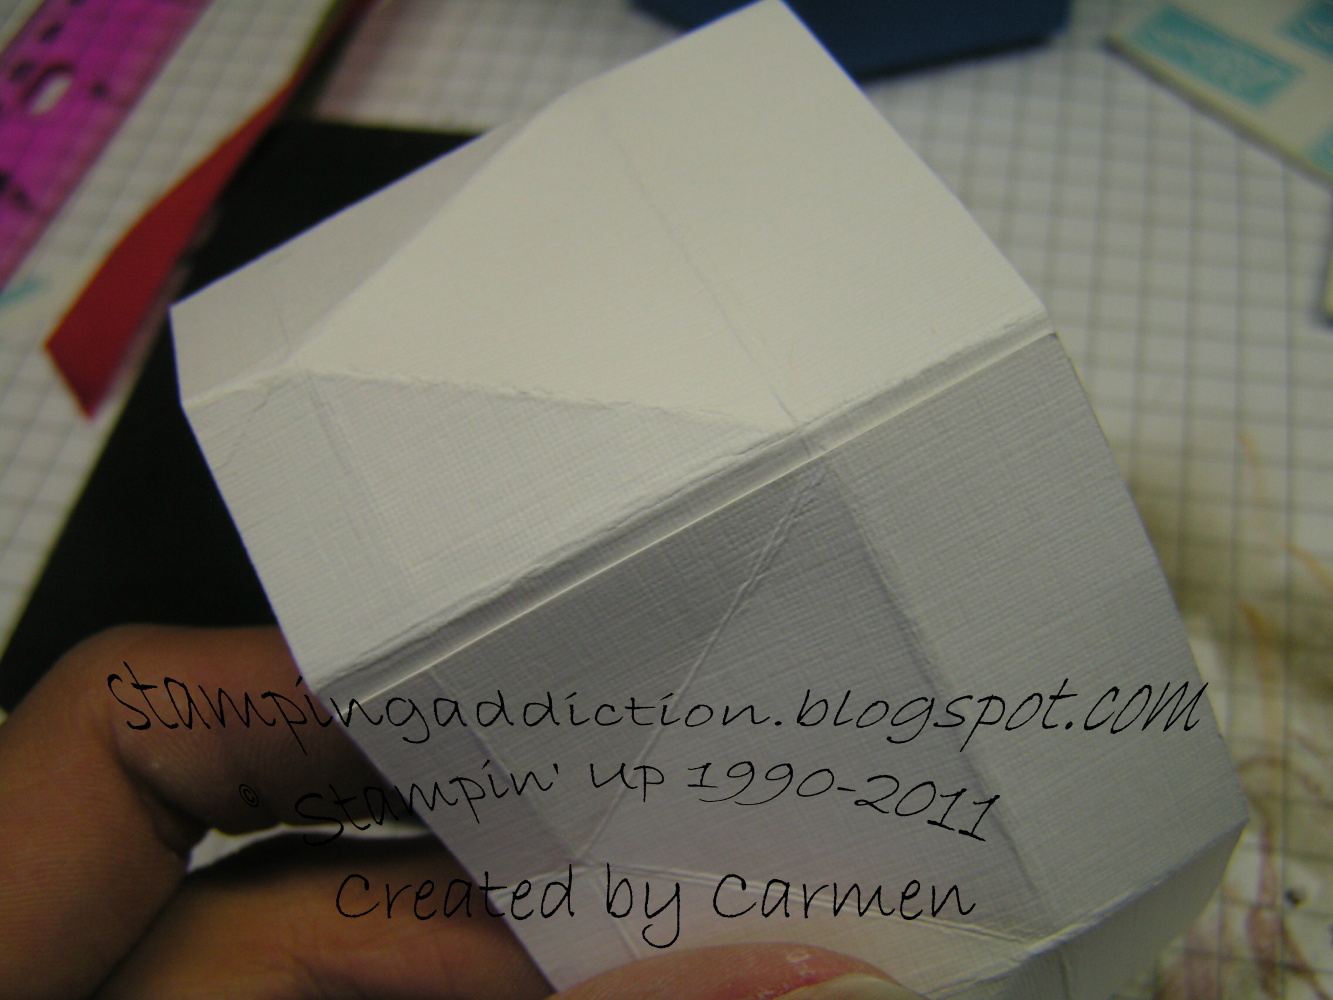
Now onto the lid. As you know the center that makes the top milk carton is not centered so you will need to do this yourself. I just line up the second cut out with one of side sections with the middle one and rescore to get the right center line.

Then I rescore the angled line from top center to bottom center.
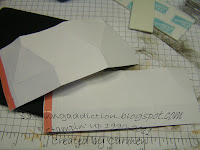
Crease all the lines and add sticky strip along the side flap.

Attach the same way you did the bottom of the box to create the lid. Now the lid needs to be a tad larger so it can go over the box without being too tight. So when you attach the sides leave about 1/16 of an inch from the flap fold on each side. That will give you enough play for the lid to fit over the bottom with ease.

Fold all the folds so the go inside of the top. It does take a bit of manipulation.

Push it down.

I then add a glue dot to hold it somewhere together.

Flip it over and add a touch of crystal effects to get a good solid hold and let dry. Once it is dry put it over the bottom and decorate as you see fit!! Of course I would LOVE to see your creations so if you use this tutorial please come back and link your project to my comments so I can check them out! Hope this tutorial has given you some inspiration and Happy Stamping!!


 I am doing a friend to friend swap with a yahoo group I am in and this was the card I sent for July. It didn't photograph as well as I would have liked, it's much nicer in person! I used an old set I have called Noteworthy, such a cute little set! I cut the flowers out with the Fun Flowers die. Happy Stamping!















 Posts
Posts


