
 You will start with half a sheet of card stock. Cut it down to 5 1/2 x 6 3/4. You will measure 3 1/4 and score on both sides. That will leave 1/4 in the center between each of the score marks. I would at this point decorate the outside cover before you add all of the envelope pieces.
 Next you will get 5 coin size envelopes, they measure 3 1/8 x 5 1/2. So if you envelopes are a different size just adjust the base card stock to match the width and length of your envelopes.
 Seal each envelope. Take 4 of the envelopes and slice along on long edge close to the edge.
 Take those envelopes and tape them together by stacking them on top of each other. Make sure you tape them so the open end is all on one side.
 Then tape them onto the inside right wallet flap.
 It'll look like this once you have it taped down.
 Take the last envelope and cut almost in half. I cut it at 2 1/2 that way on was larger than the other.
 Tape them together.
 Then tape it to the inside left side of wallet flap.
From here I am going to show my original project to get the last few steps. I'll be using this wallet to create a special gift for someone who shall not be named at this time!!
 For the ribbon I just cut a slit on both sides of the center then feed my ribbon through. So it lays loosely around the outside of the wallet.
 To create the blank pages that go inside the envelopes on the right side I cut white card stock to 3 1/4 x 5 3/8. I then cut tabs using the curly label punch which I then cut in half and taped down the the edges of the white cardstock. Lastly I added a bit of cardstock that I used the scallop trim border on. Make four of them to slide into each envelope. Don't forget to add your pictures!!
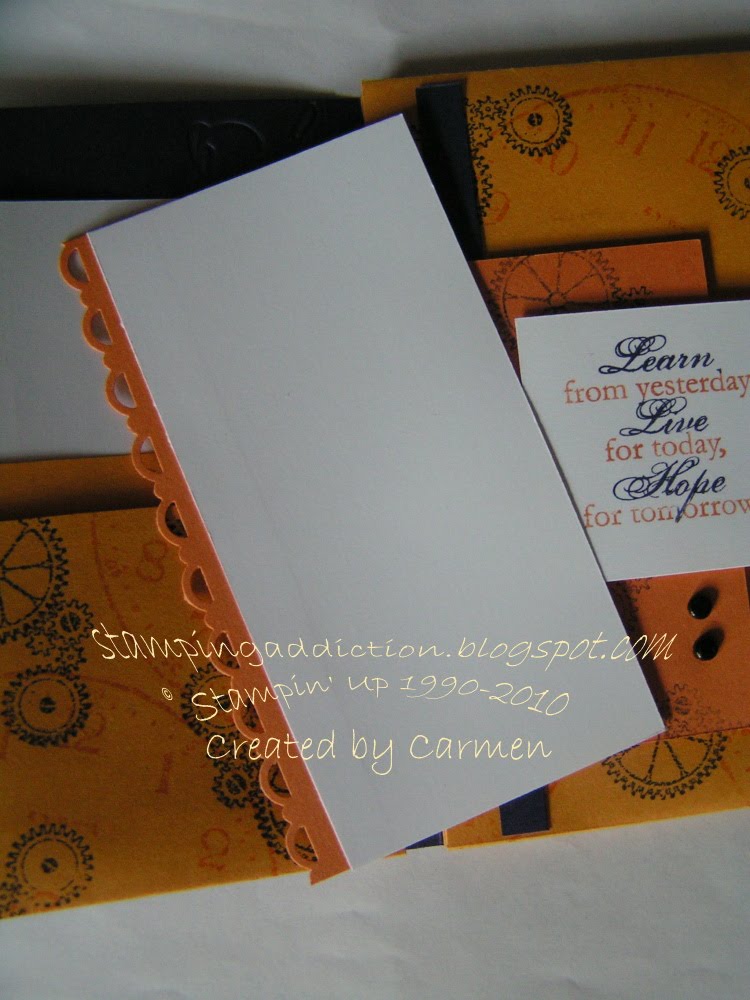 To created the pages for the left side I cut white cardstock 2 1/2 x 5 and added a bit of color by adding cardstock that I used the scallop trim border on. Slide those in as well after you have added your pictures!! Just FYI I would decorate the inside of the wallet before adding the pages so that it is still mostly flat.
If you happen to use this tutorial I would love to see what you make so please come back and link your project!! Happy Stamping!!


No comments:
Post a Comment